| STANDARD CORRECTION SEQUENCE
After Initial Corrections are applied to the entire folder this process
goes much faster. Most of your time will be spent adjusting
Exposure, Black level and White Balance. White Balance is adjusted after selecting a Color
preset since changes to one will affect the other significantly.
1. Adjust Exposure
2. Fine tune Contrast / Black level (if needed)
3. Modify Color preset and saturation (if needed)
4. Modify Sharpening / Noise Reduction (if needed)
5. Adjust White Balance
6. Review / modify above if needed (make cloakroom assignment if
desired)
7. Crop, apply rotation & lens corrections, etc. (do after
cloakroom assignment)
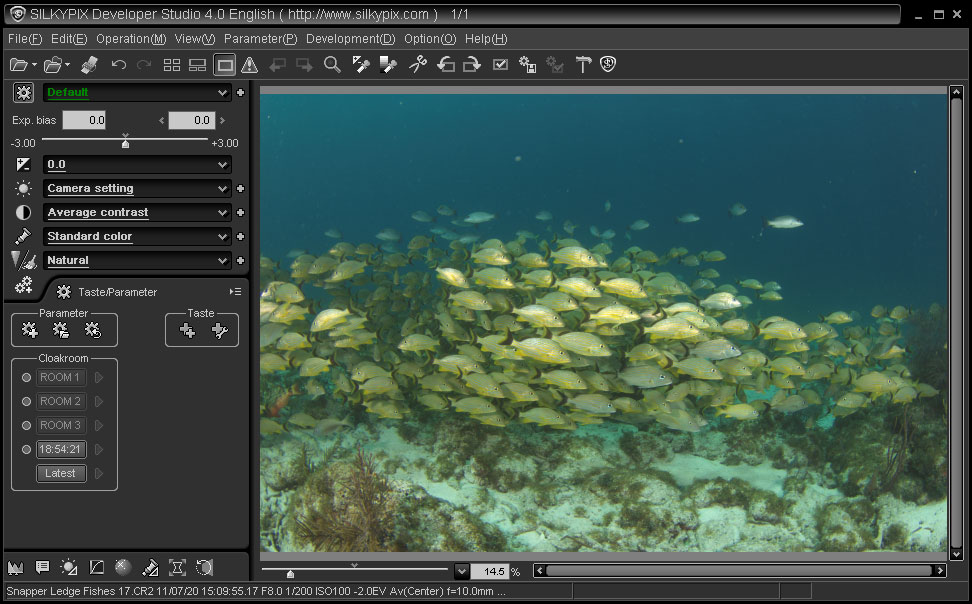
ASSIGN TEMPORARY CORRECTIONS USING
CLOAKROOMS
You can also assign an entire set of parameters from an
image into one of four development 'cloakrooms' or temporary boxes to be
applied to subsequent images using a single click. A cloakroom is
a temporary 'clipboard' which is cleared when the program closes.
The Cloakroom tab is display with the 'Gear' icon. Assign the
current image setting by pressing the round 'radio' button left of the
desired cloakroom box. To permanently save an image's settings you
must save them as a new preset by clicking the 'Gear +' icon below on
the Cloakrooms tab. There you can also dictate which parameters
are to be saved. Versions 4 and later add a 5th cloakroom that
stores the latest image's corrections. This is a much-welcome
improvement.
|