 |
Home > Photo
> Classroom > Silkypix 3+ Intro
RAW
conversions using Silkypix
3 and higher

Introduction
| Silkypix
is a full-featured program for converting RAW digital camera data into
standard TIF or JPEG image files. Beginning with version 3
corrections became possible on TIF and JPG's. Other small changes
have been added to versions 4, Pro & 5. The most useful of
these is single image HDR processing in version 5. After testing various RAW
converters on the market I consider Silkypix
the best. You
can download a free 30-day demo from the publisher.
|
|

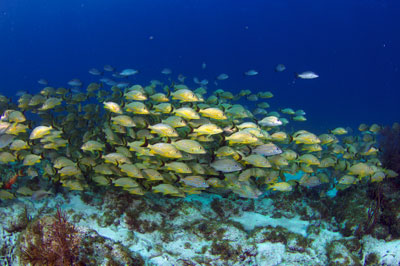
Original RAW image
|
| This tutorial discusses the major steps of RAW image
processing. I have played with other functions such as highlights,
distortion, lens correction, chromatic aberration, and find many of
these effects to be so minor that they have been omitted. Go ahead
and try them out, dragging the sliders fully right and left to get a
feel for what they do. I don't spend much time worrying about
these.
|
|

Silkypix processed image
|
|
Some folks say such a program is unnecessary since Adobe Camera RAW
and camera manufacturers already provide conversion software. They
also say most adjustments can be made later with Photoshop or the
like. I find that the extra time and expense using Silkypix
is well worth it when comparing results side-by-side. As its name
implies, the program produces outstanding images with a smooth silky
appearance.
|
Camera Settings
| For best results you should already have a calibrated
monitor. For more information see this page.
The sRGB color space is is the industry standard for images viewed on-screen
& the web. It has a limited color range so printed images may
not look as good as on-screen. I recommend
producing files with the Adobe RGB
colorspace if you print or sell your work. Color space may also be
selected during development.
Daylight or Auto white balance produces the best representation
in-camera but you will likely change it using Silkypix.
You should
also set saturation, contrast, and sharpness levels to normal and use
the lowest ISO possible.
|
In-Camera Exposure
| Digital files are similar to slide film when it comes to
proper exposure. Err on the side of underexposure if necessary
since blown-out highlights cannot be recovered. Fortunately RAW
files underexposed up to 3-stops or 1-stop over can produce acceptable results.
This flexibility makes the use of TTL flash less important for those
cameras and housings that lack it. |

|


