|
Despite your best attempts to reduce backscatter
during the shot, there will be many times when you will want to remove or
hide distracting elements. Photoshop has number of tools to do,
all of which have specific applications, including the spot-healing
tool, healing brush, clone/rubber stamp tool, and the lasso tool in
conjunction with a dust & scratches or median filter.
Large defects should be removed individually as shown
below since filters will likely turn them into light-colored blotches
rather than make them disappear altogether. With experience you
will learn which tools to use given the nature of the background or
subject. Best results will be realized using a combination of
techniques.
The blue & green examples are typical of images
taken in less than perfect conditions. Empty backgrounds are
easier to fix than those with lots of subject detail but much effort may
be required to hide your corrections. Play with brush size,
opacity, density, hardness, radius, and threshold until you discover
what works best in each situation.
|
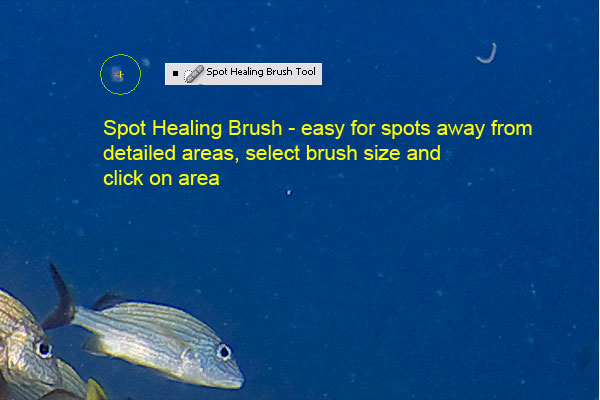
The Spot Healing Brush provides one-click removal of
spots, I try this one first (before)
|
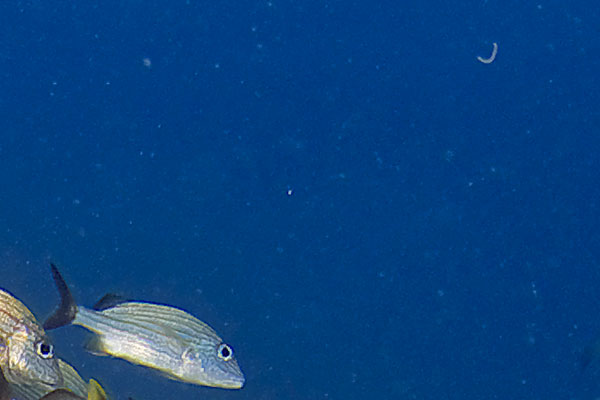
Spot Healing Brush (after)
|
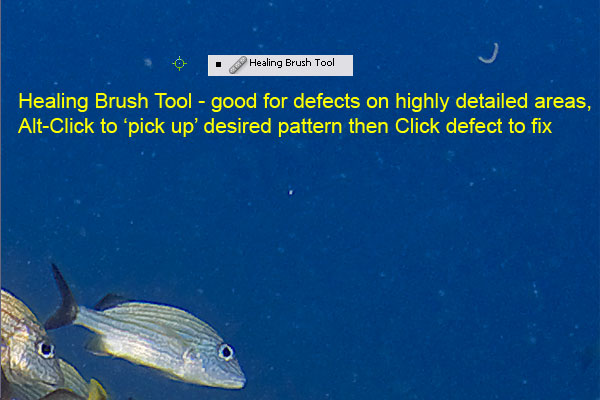
Healing Brush copies a similar area for blending over a defect,
software looks at both areas to generate a good match (before)
|

Healing Brush (after)
|
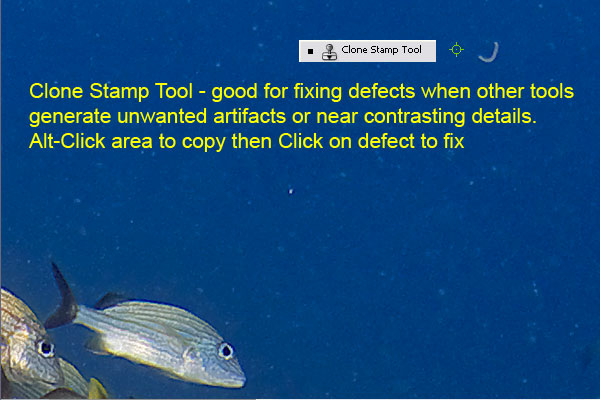
Clone Stamp also copies a similar area but simply reapplies it over
the target area without trying to match what is there (before)
|

Clone Stamp (after)
|
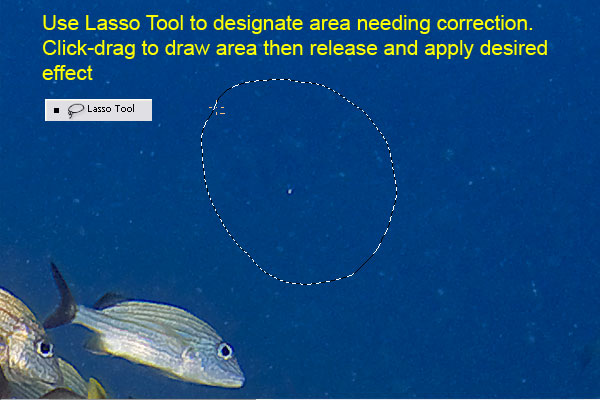
Small spots can be erased altogether by drawing around the area using
the Lasso Tool. The selection will be fixed using the Dust &
Scratches Filter
|
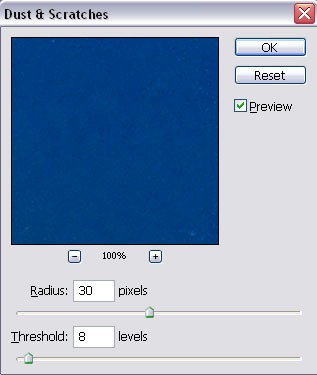
Adjust Radius to encompass the largest spots, making sure 'halo-like'
artifacts are not created, adjust Threshold (weakness) until area looks
natural.
|

Selected area after first run of Dust & Scratches Filter
|
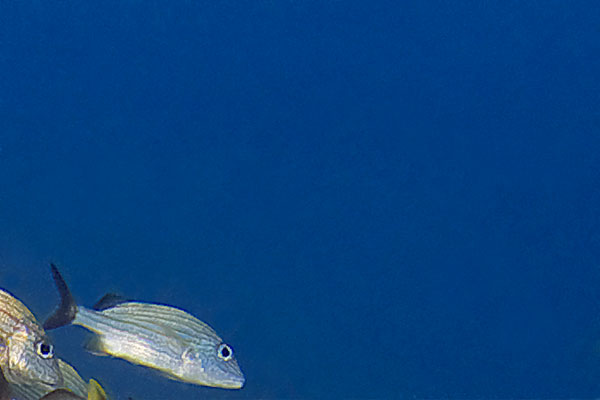
Second run of filter on all blue areas. Notice that the
background looks natural with subtle gradations of color rather than a
flat blue wall
|
|
|
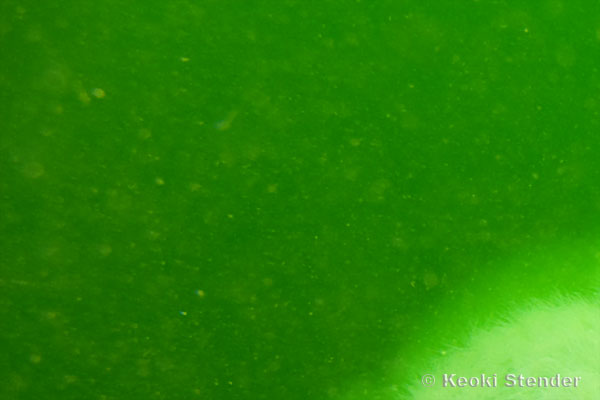
The Median Filter is a quick fix for areas that look
good with plenty of blur with no regard to detail
|
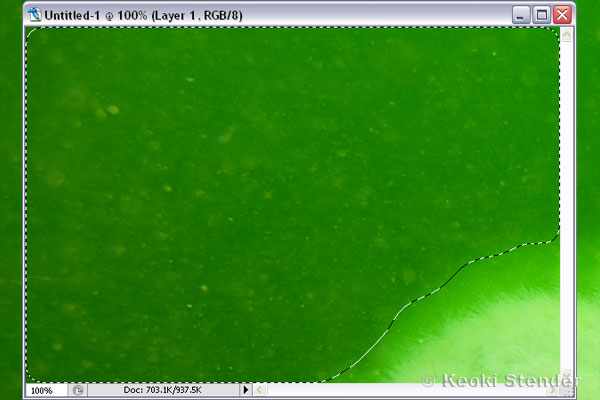
Draw selection using Freehand Lasso Tool, Feather 10
pixels, avoid areas where details must be retained
|
|
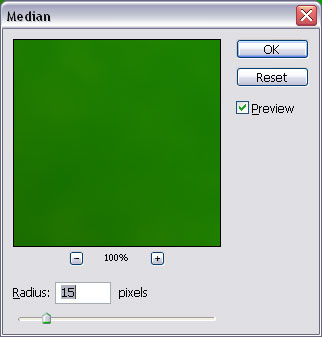
Adjust Radius to blur the largest defects without
creating posterization
|
|
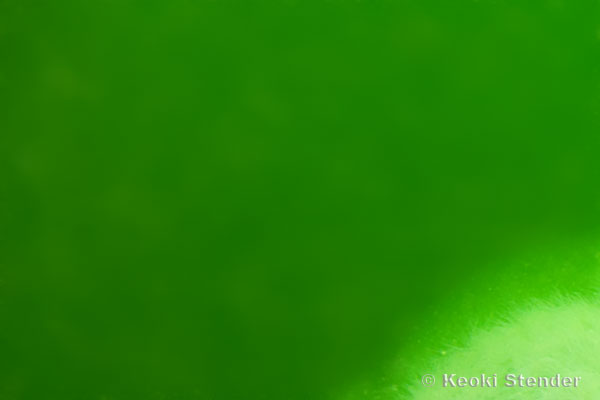
For smoother results either increase the Radius or
Spot Heal larger defects before applying the Median Filter
|
|
|
|